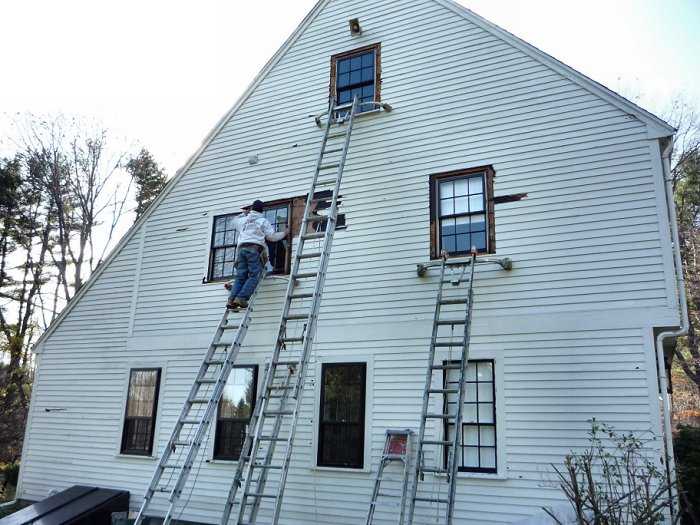
Restoration with Gary's Painting
1.) Window Repair
To Siding Repair
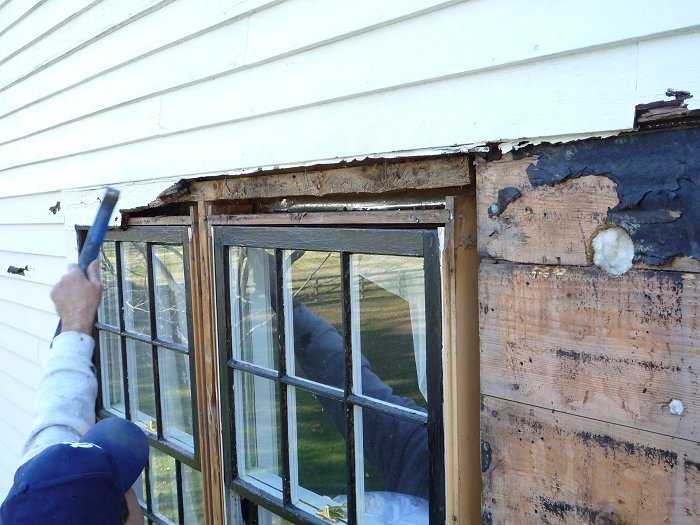
Removing window trim.
The trim was removed from all windows on this wall. The window trim was so rotted that it literally squirted water when removed. Luckily, none of the window casing structure underneath the trim showed signs of rot.
A closer look.
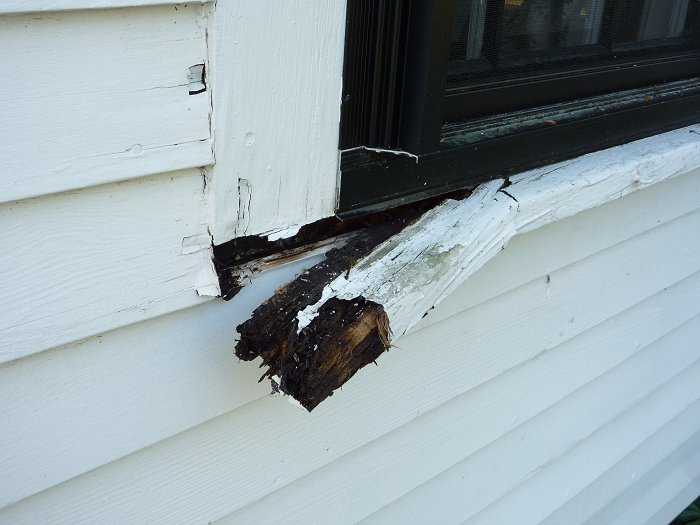
All but one widow sill was rotted, and had to be removed. Some were worse than others, and could be pulled apart by hand, like this one.
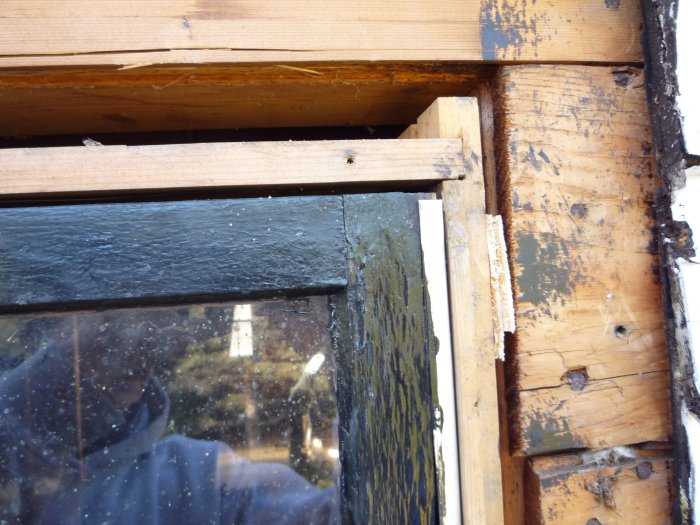
None of the space between the window casing and the house was insulated or sealed from the weather. this would make the interior extremely cold near the windows.
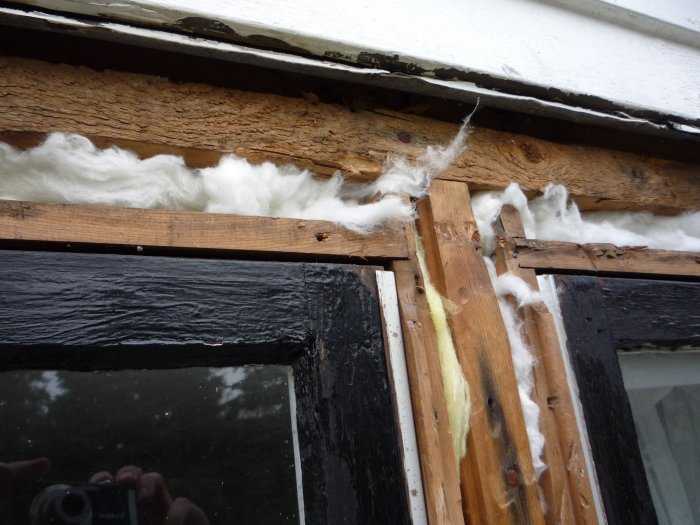
All open space around windows was insulated.
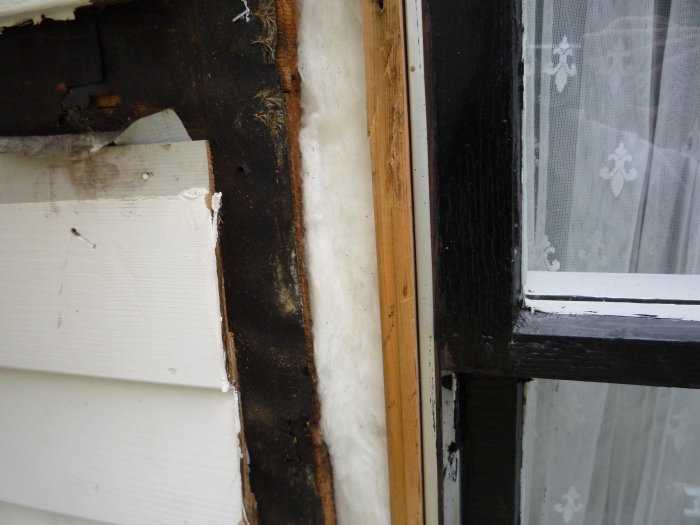
Insulating the left side. What a gap!
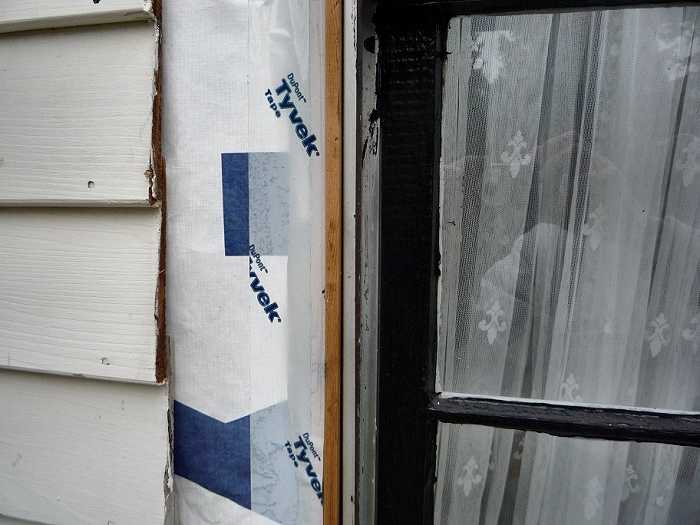
The window areas were wrapped with Tyvek which was tucked under the remaining clapbords and taped to the casing with Tyvek tape to completely seal out the weather. The windows should be considerably warmer now.
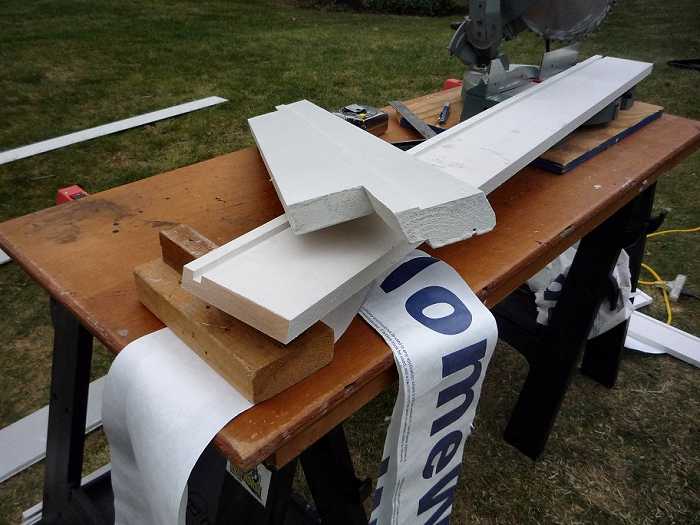
This is a new sill and window trim. The slot in the trim piece accepts a spline that is manufactured into the window casing. We custom-milled the sill, an exact replica of the original, from pressure-treated wood to prevent rot. It is fit into the window and screwed in place with 3" screws, the screw holes capped with a wooden plug.
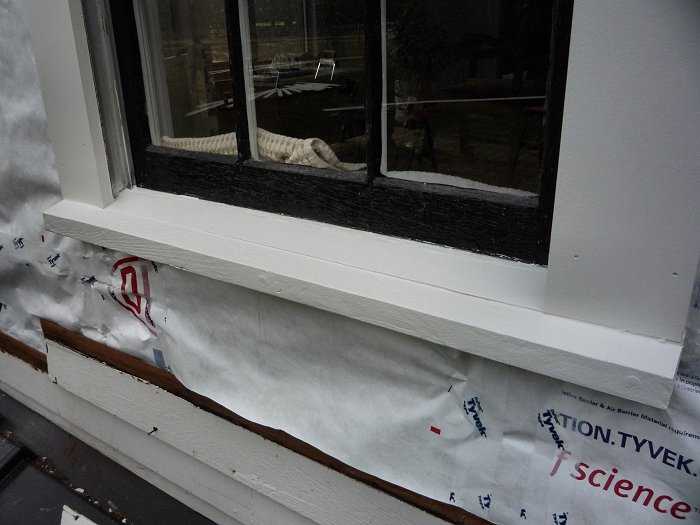
The completed window.
TOP